FAQ - Frequently Asked Questions
What we do to build your dream home in 3D
How do we build a 3D Model of your home?
Have you been considering getting a 3D model done on your home? If so, you have come to the right place! We have had a lot of requests over the years for various 3D models and images to be made. Whether it’s a kitchen that needs to be renovated, a new home is being built or even entire housing development, we have done it all.
We are now going to pull back the curtains a little bit and show you the steps we take to complete each and every 3D project.
What we need from you:
The first thing we do when we get in a quote through our website/email is ask our clients for a scaled drawing of their new project. We usually receive these drawings in as AutoCAD files or PDF’s, because they will have the most accurate measurements.
We ask the clients to specify what colours and materials they are using for each project. Are the walls going to be painted grey? Are there timber surrounds on the windows? Any Zinc Cladding used? In many cases we would provide a number of colour or material options for the clients to help them in the decision making process.

Sometimes we will receive photos from our clients showing us a certain style they want. Which can be a huge help, especially when working on internal images. We do encourage people to send in photos they have seen on websites like Instagram or Pinterest because our goal is to make sure our products match the exact style you want.

How We Model
Once we have gathered all the necessary information we begin the modelling process. When modelling we start from the ground up.

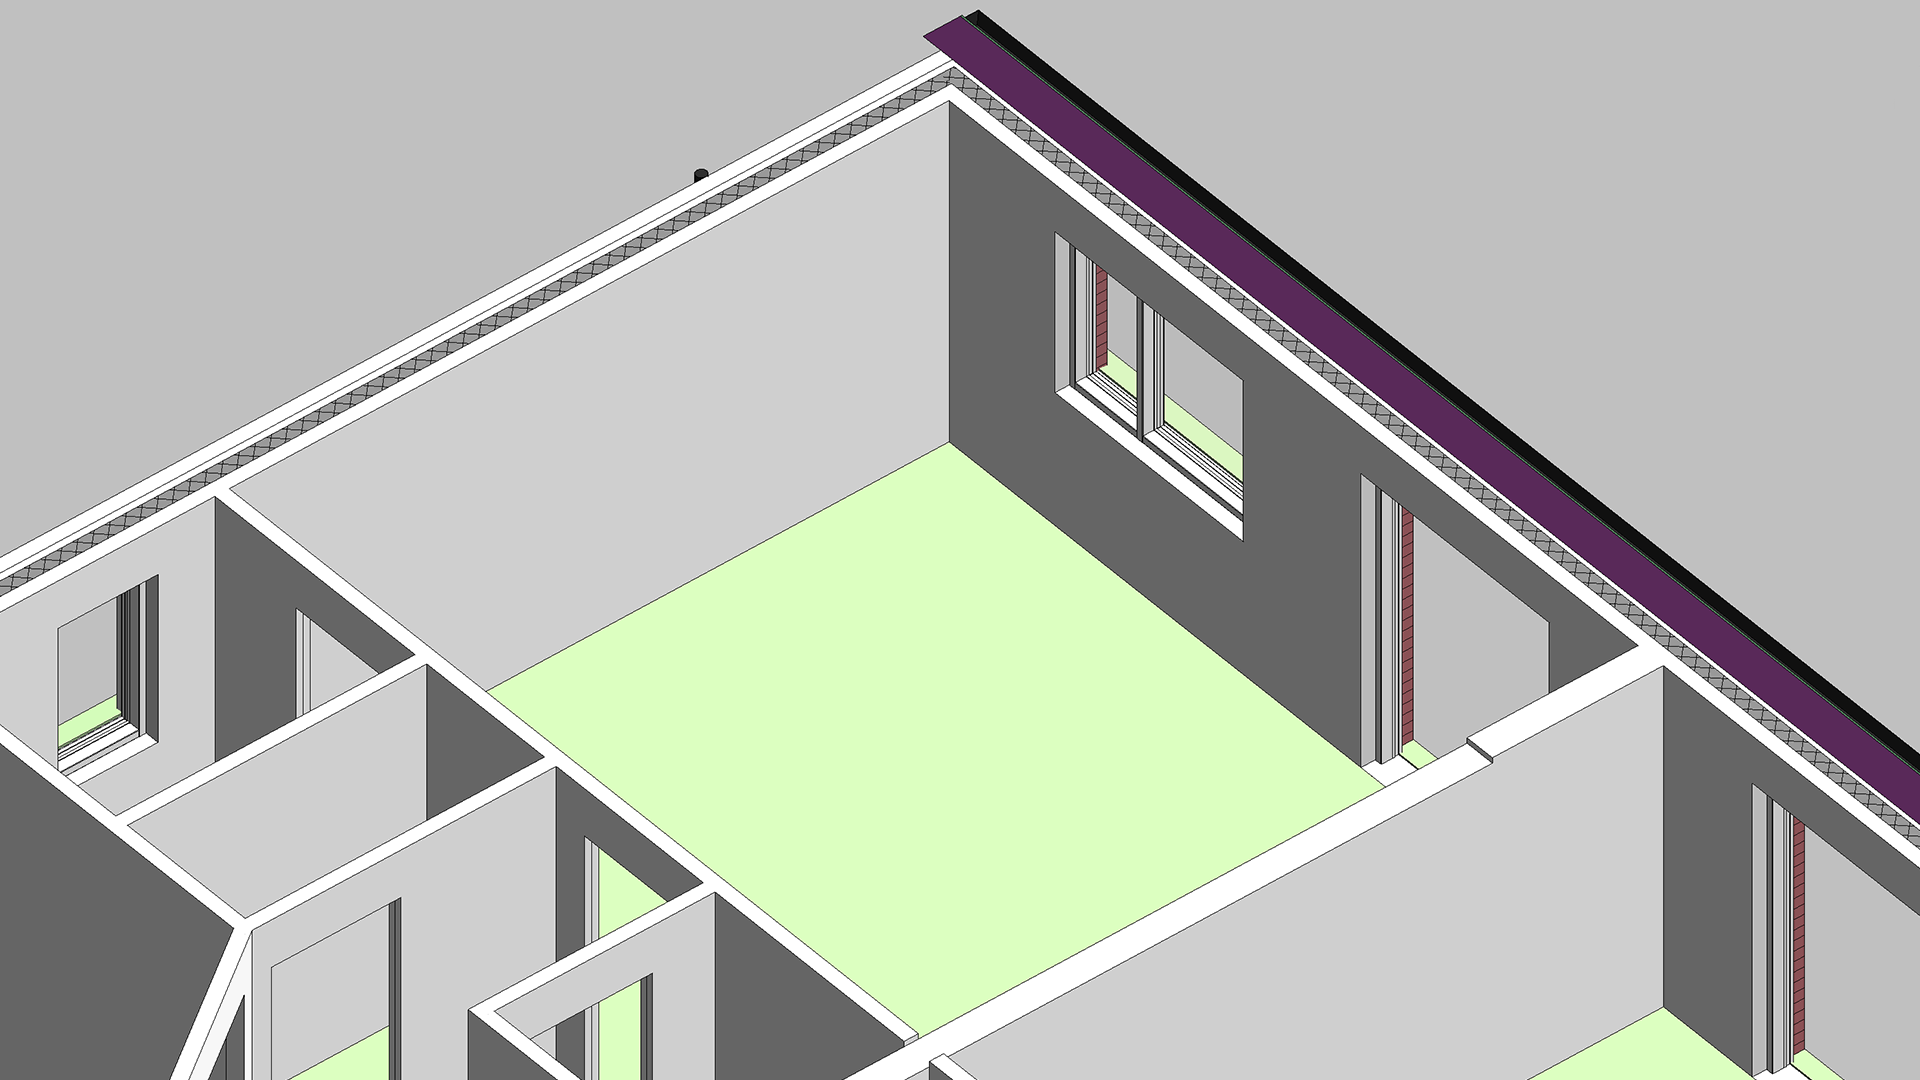
We begin with creating the floors from the plan drawings given to us. Starting with the floors helps getting the shape correct.

Next we work on the exterior and interior walls to fill out the structure.

We cap off the model by working on the roof next.

Then we work on placing the windows and doors. At this point most of the structure is in place.
We break up the walls into separate sections in order to apply different materials.

We do the same with the flooring sections internally.
Next we work on adding some of the small details like gutters/downpipes for the exteriors.

Same again for the interiors we will add skirting/architrave. The devil is in the detail.
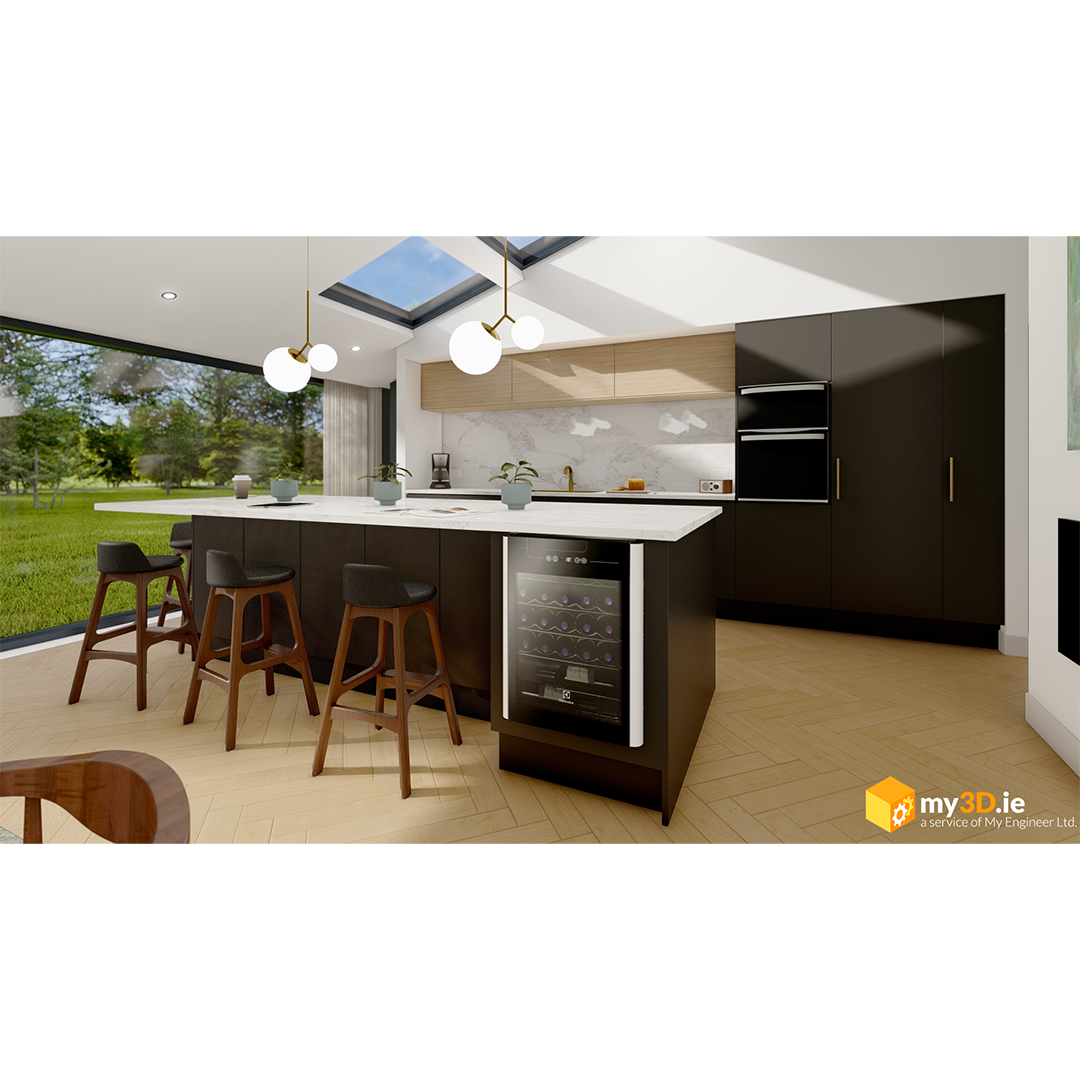
Fitting out the rooms is our next priority, creating the models for kitchen, living room, bedroom, bathroom etc.

After this we work on adding the electrical elements like light switches, sockets, downlights, pendants and spotlights.
Materials
Once the model is completed, we bring the project over to our rendering programme Lumion. It is here where we start applying materials to the different part of the project. This programme gives us a lot of control with the materials we are using. From here we can adjust the colour, depth, size and reflectivity of each material to react to light and look as it’s suppose to in real life.
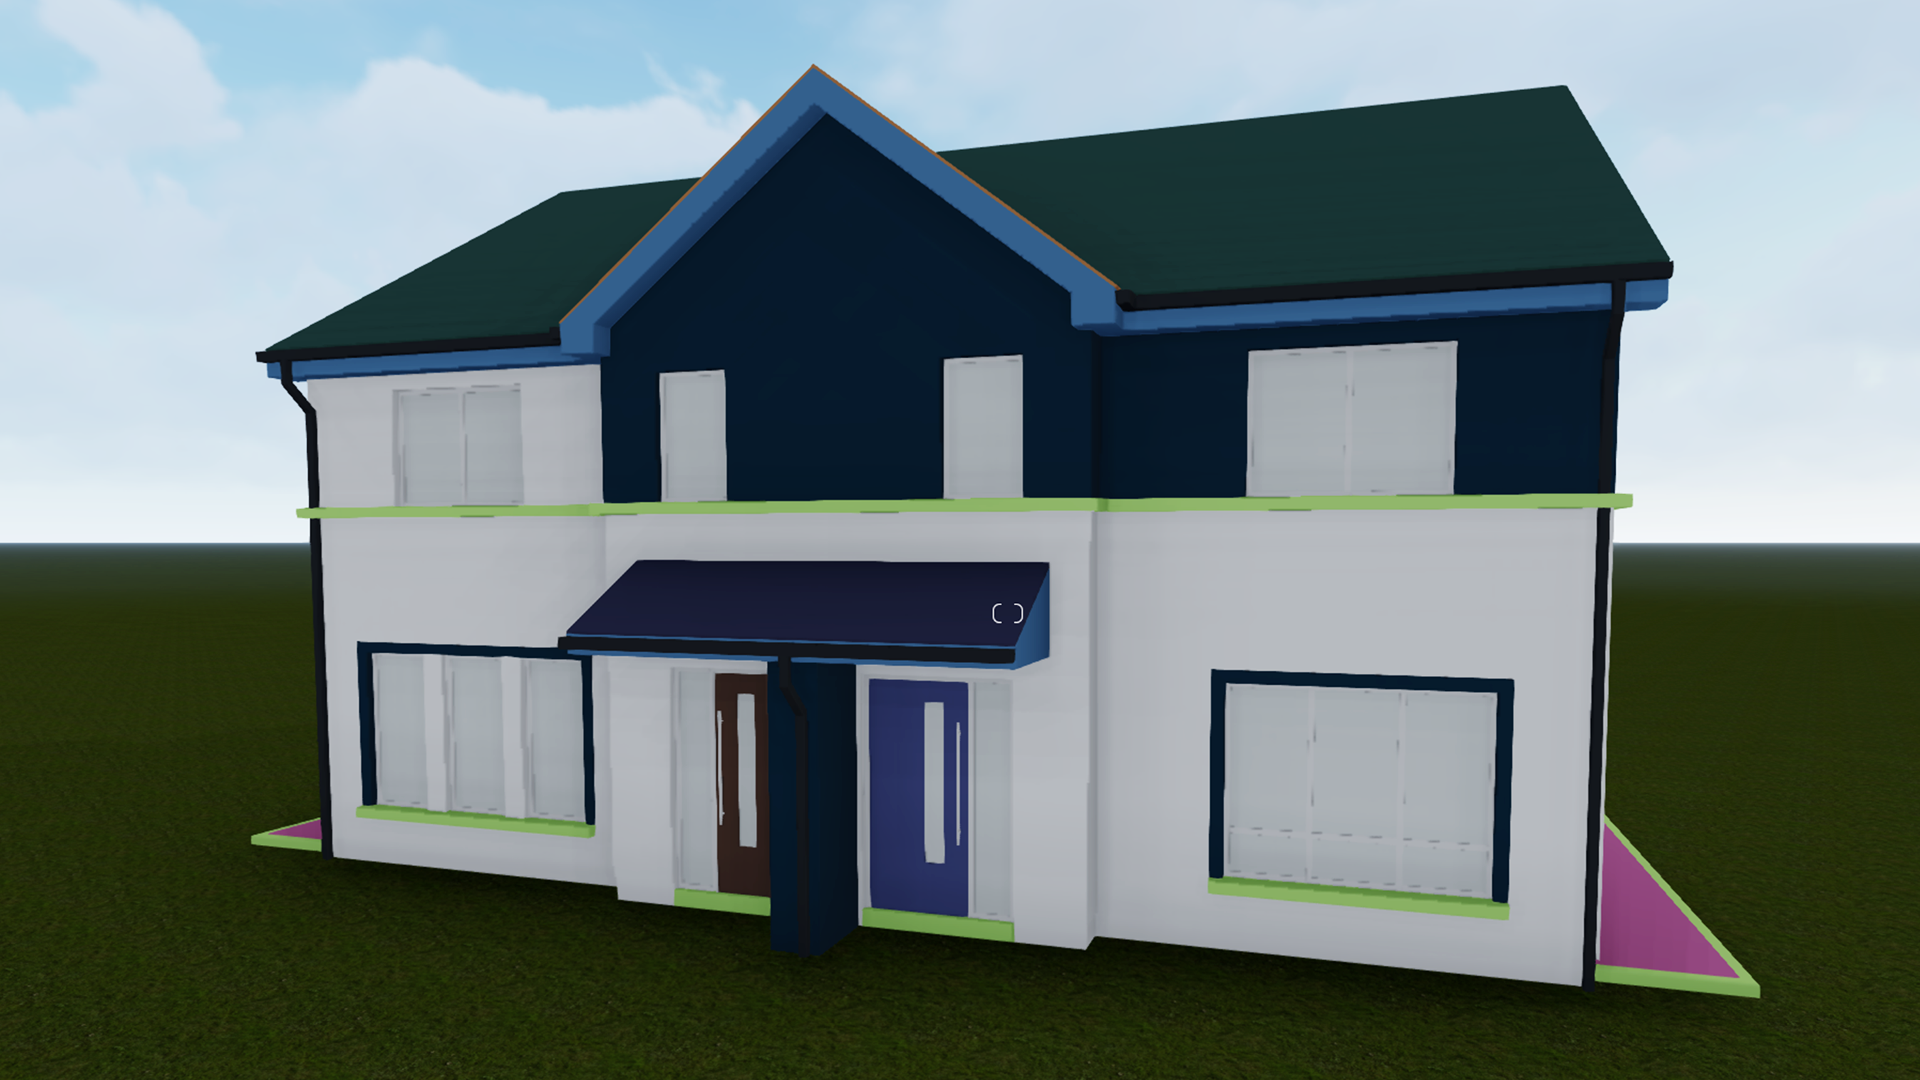
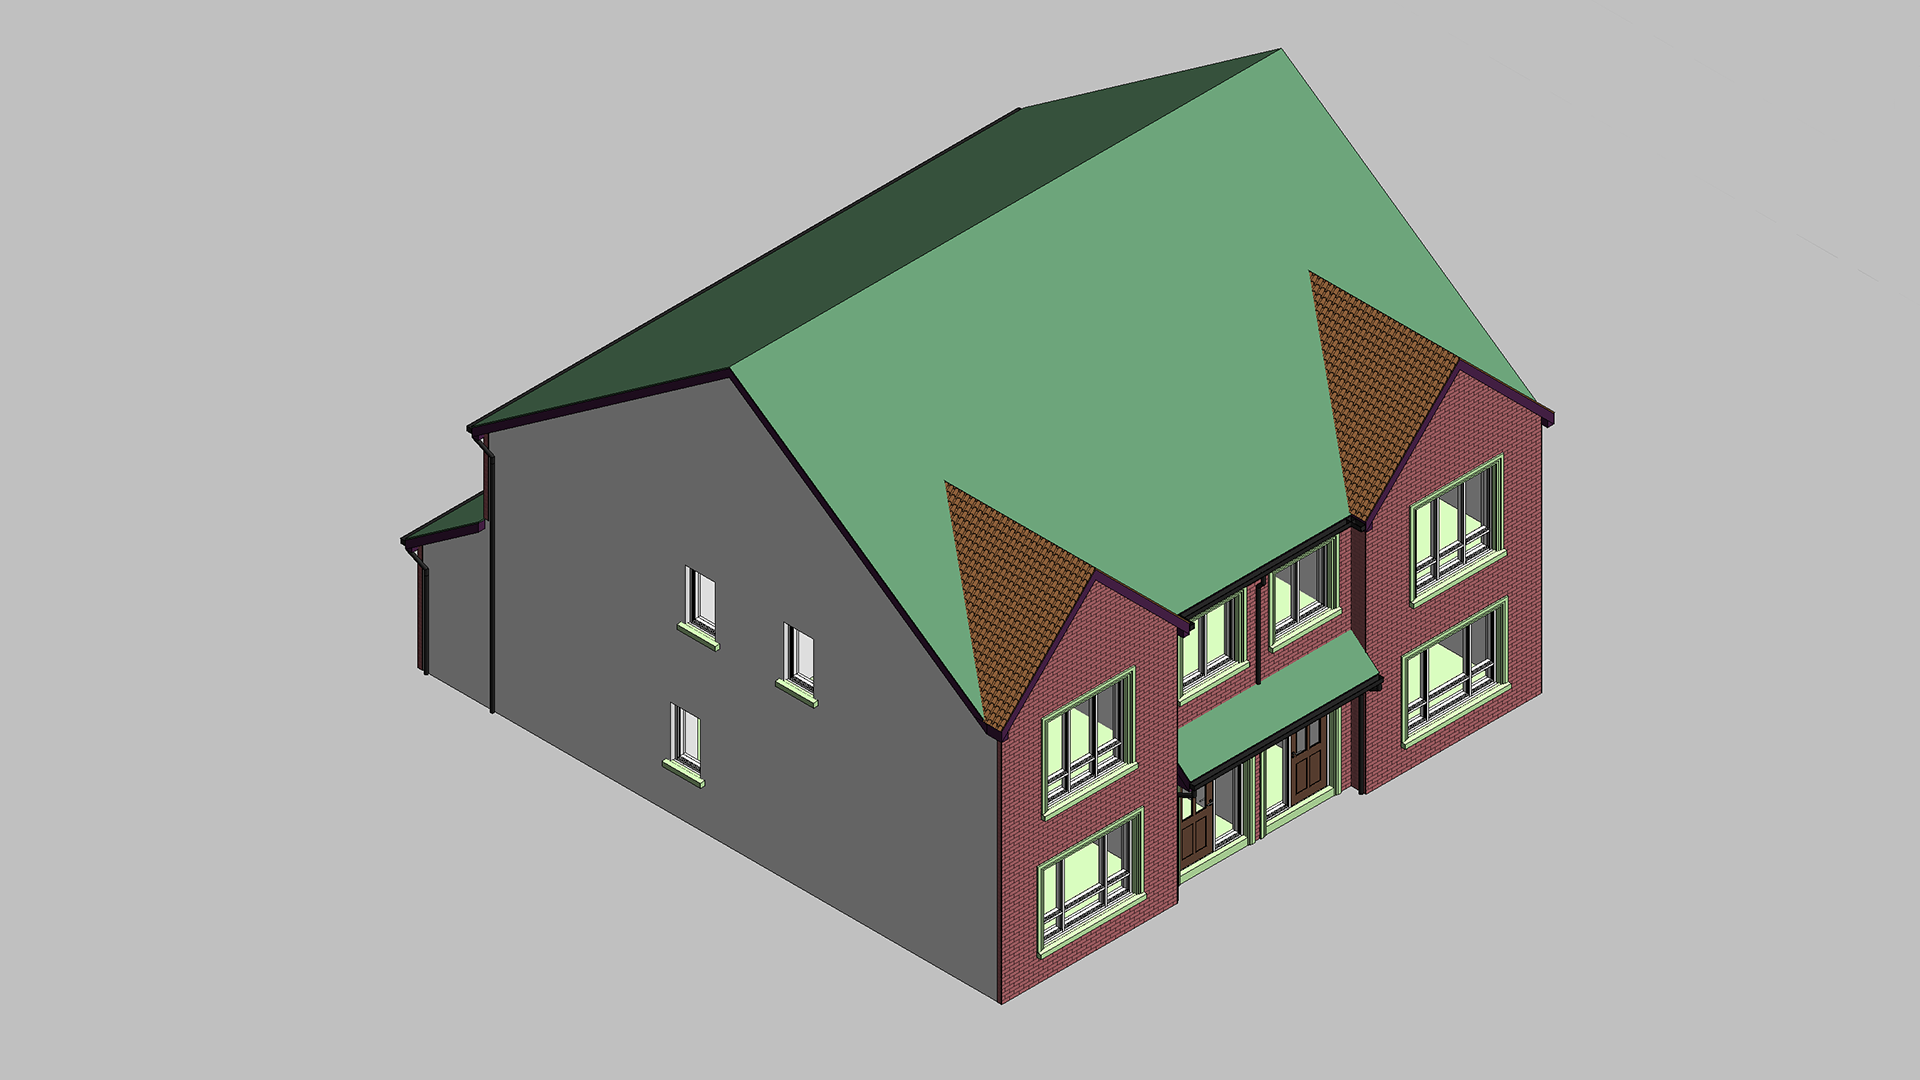
This is typically how a model looks when it is first imported into Lumion. It doesn’t look like much right now but it’s a big difference when compared to our final images.
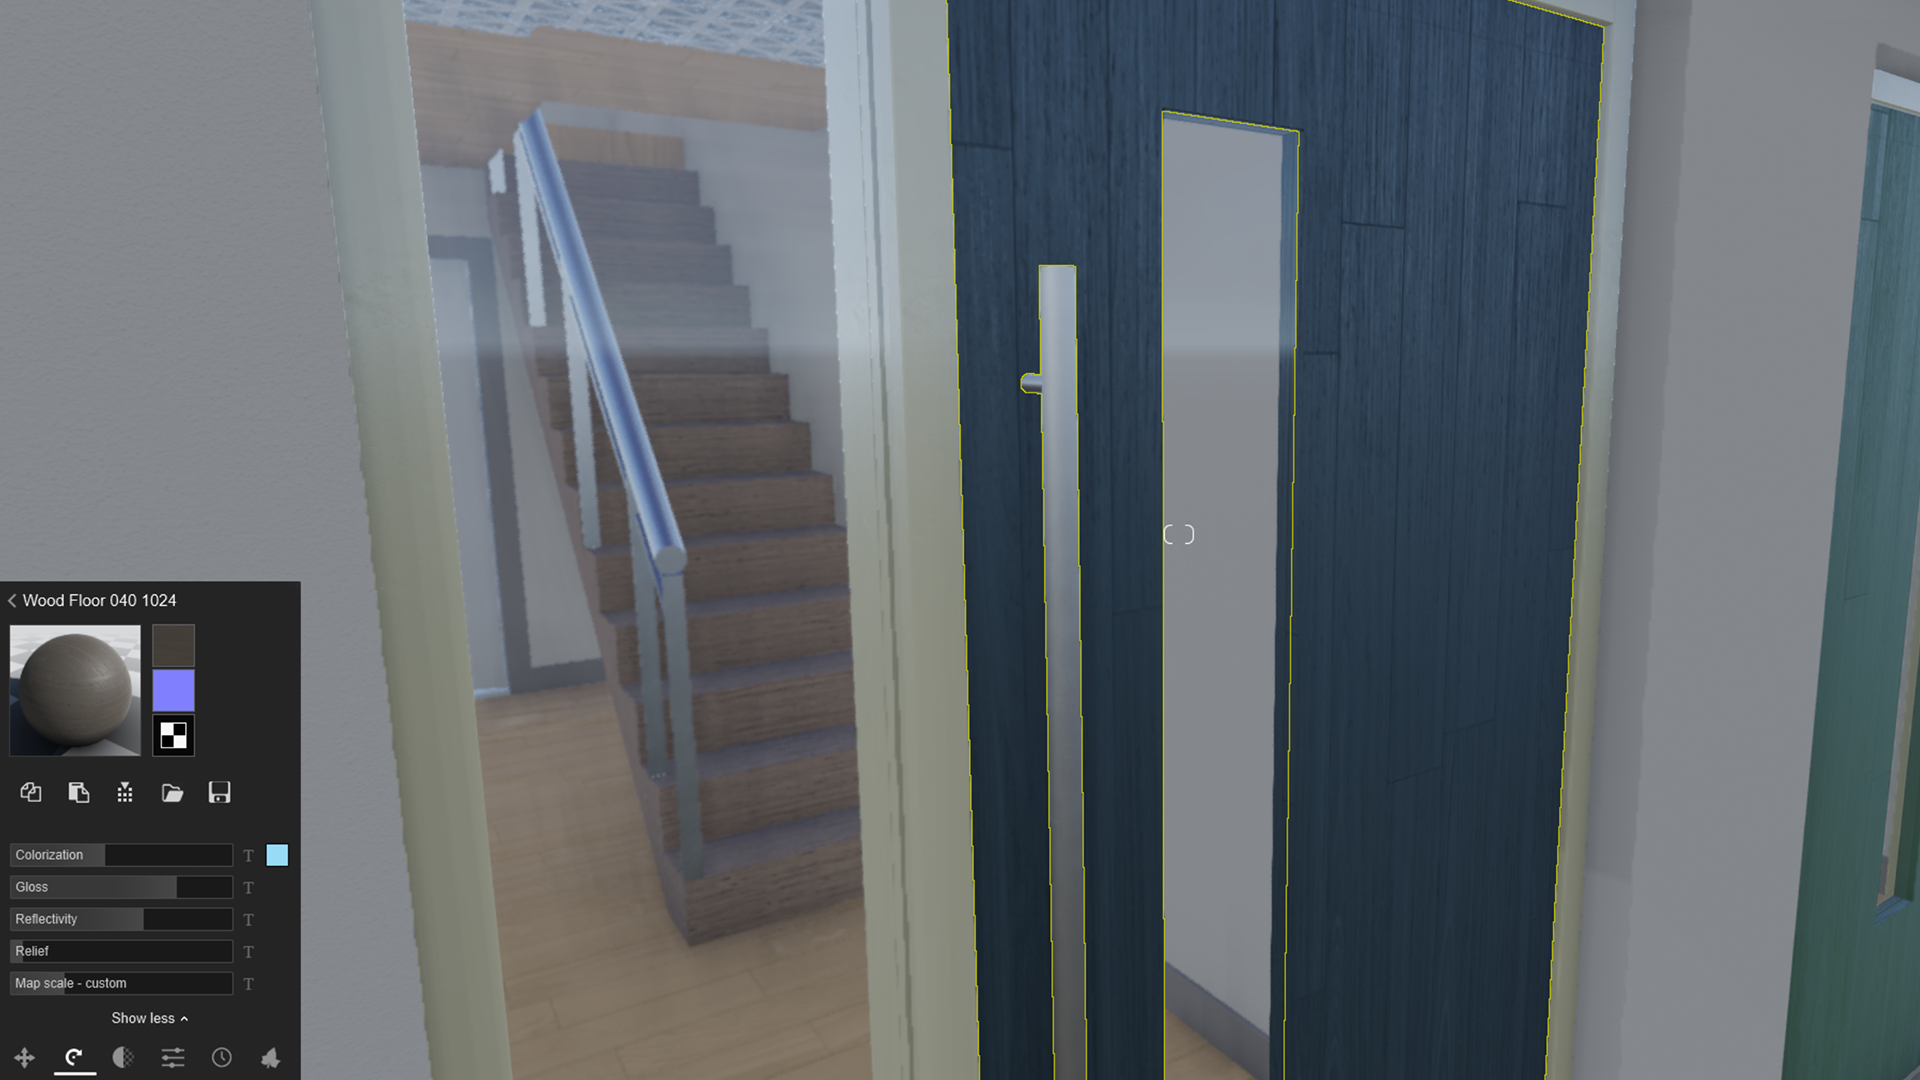
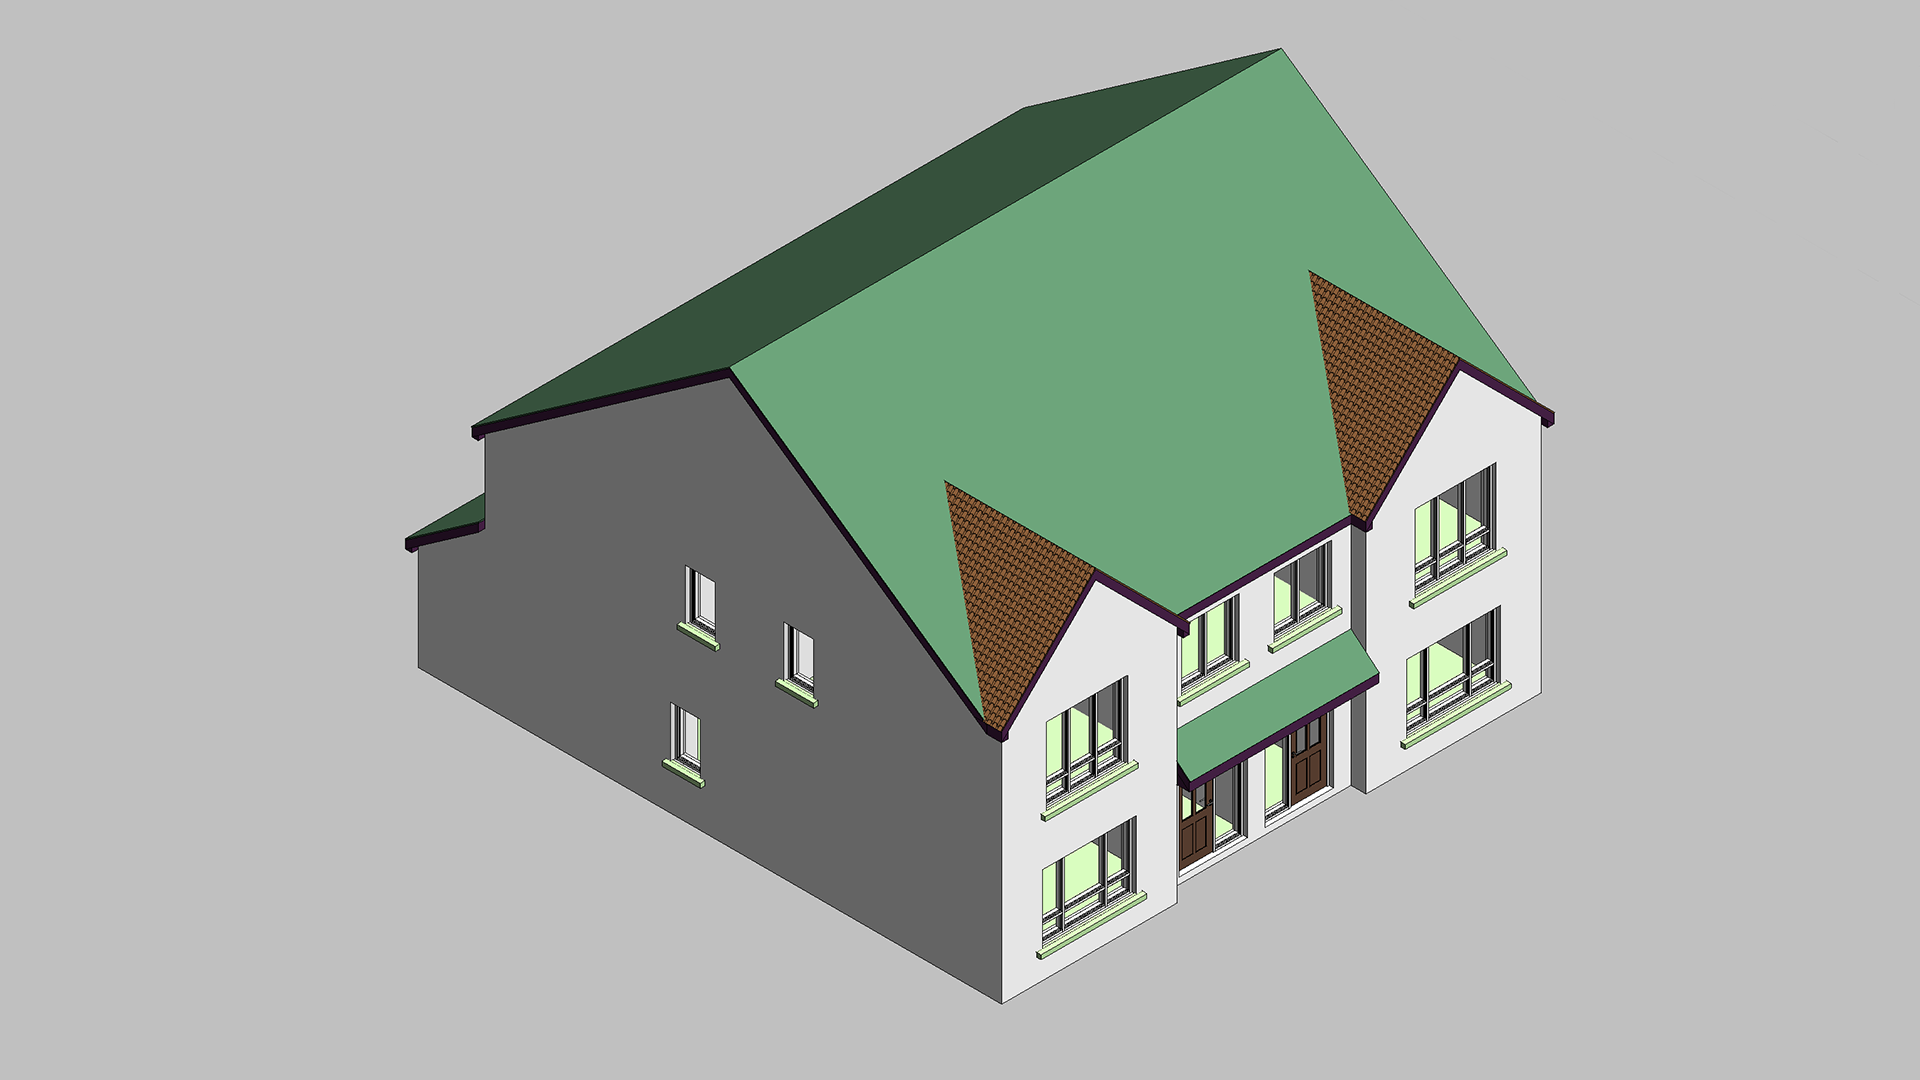
We then start applying the different materials to each part of the building. You can see the control box in the bottom left corner of this image. This allows us to modify all the materials to get the exact look we are after.

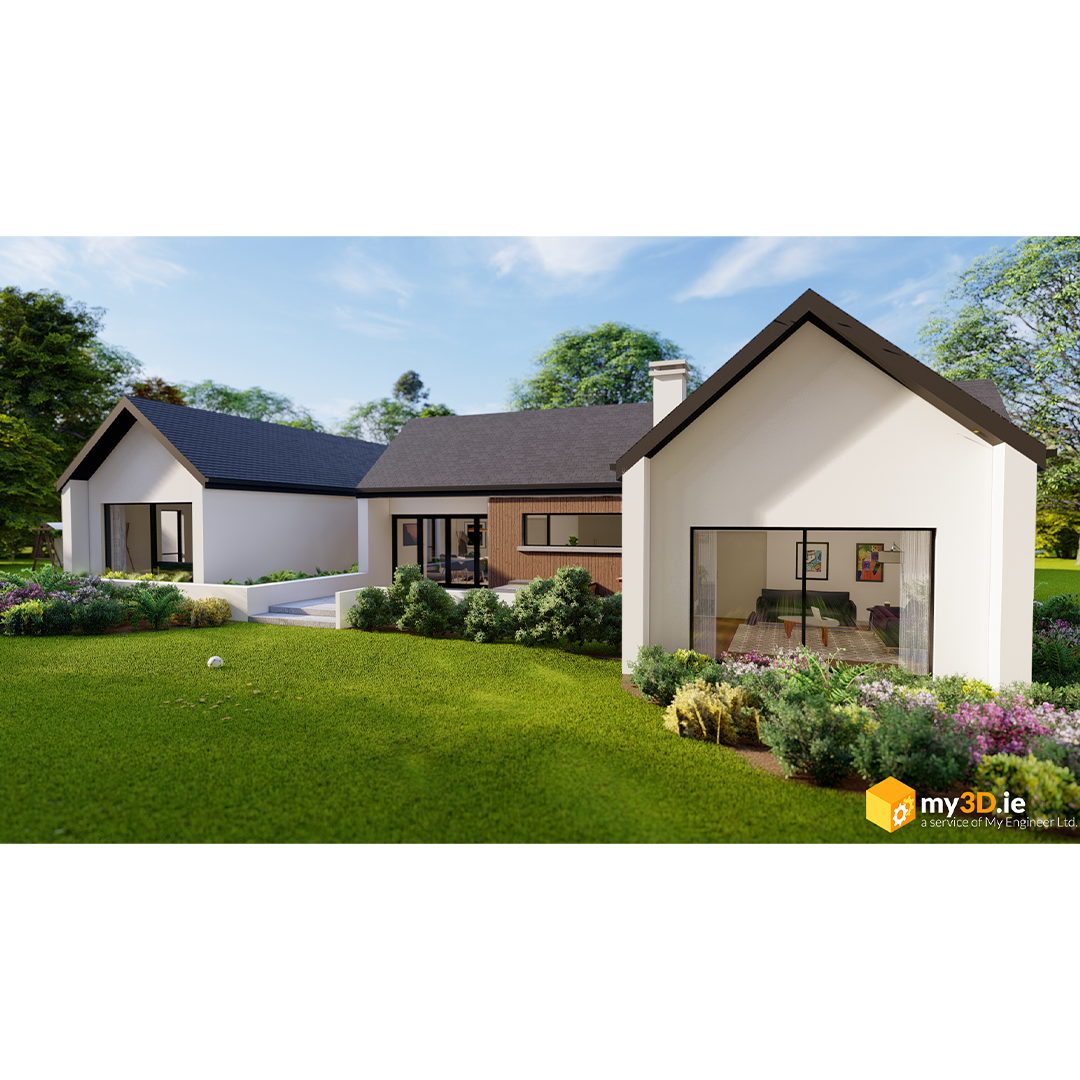
This how the models end up looking like after all materials have been applied. This is not the final image we still need to apply our filters and adjust the sunlight, but we will be doing that at a later stage.
Furnishings
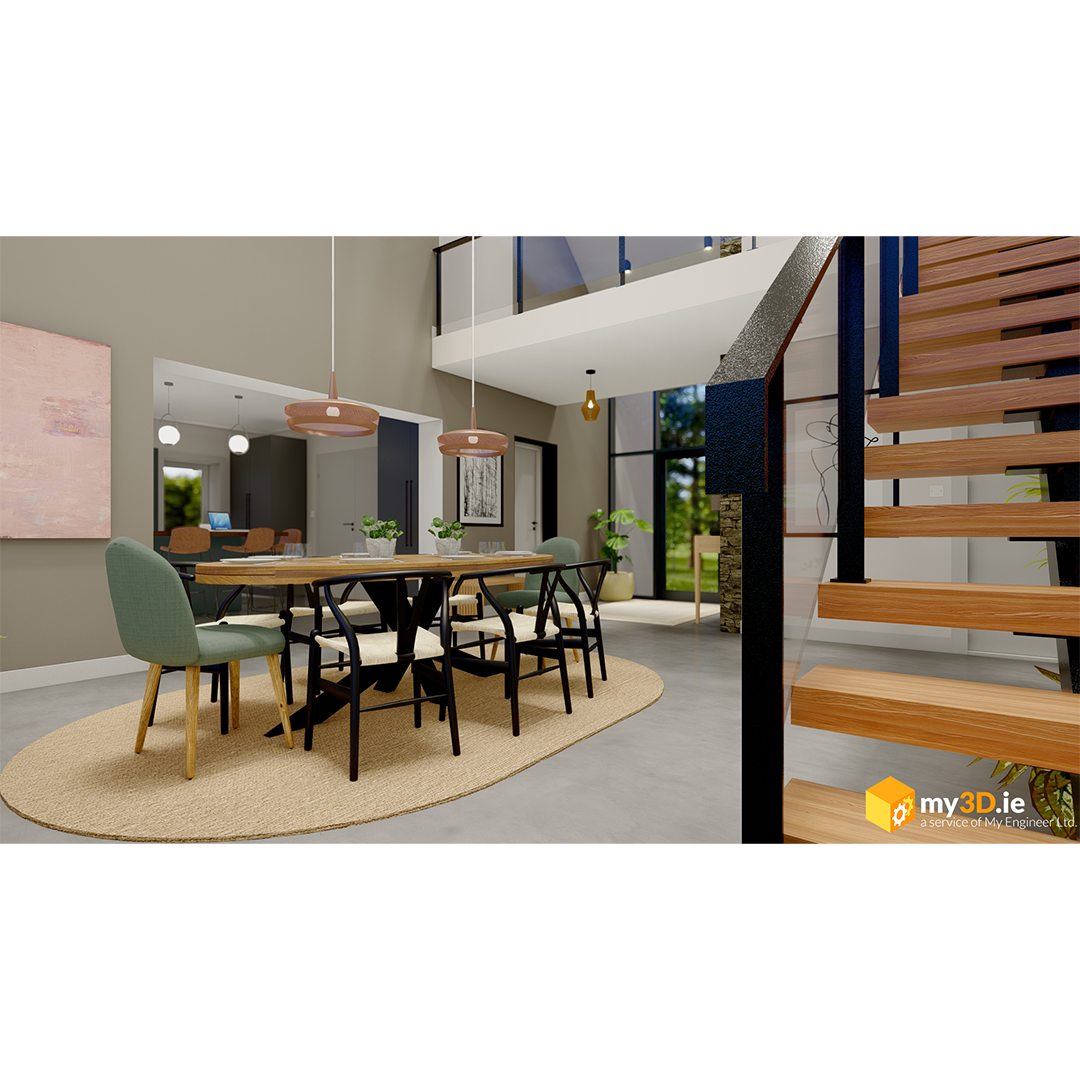
This is when we get into the next step and start personalizing the project for our clients. We will take the images and information the clients have sent us about their style and get to implementing all these elements. We will pick furniture and colours as close as we can in order to match the client’s particular style. Paintings and planting can also be added to bring life to these spaces.

We have worked with a number of interior designers in the past to help show off their vision to clients that might be struggling to picture their ideas. These kinds of resources are invaluable and can help out immensely in design stages of any project.

Light Sources
Adding light sources to the model is one of the most important aspects of showing realism in each project. These light sources will be able to reflect off all the surfaces as well as create shadows. This will add incredible depth to each of the images and really show off the work that is put into each of the materials.
We will add these light sources in the appropriate locations like ceiling spotlights, pendants, downlights and backlights to really add to the atmosphere of each of the rooms. It’s details like this that can drastically alter the mood of the images we produce.

With the addition of a few spot lights you can see the space has already become brighter.


The back lighting behind this bed spills onto the wallpaper instantly becomes more detailed.

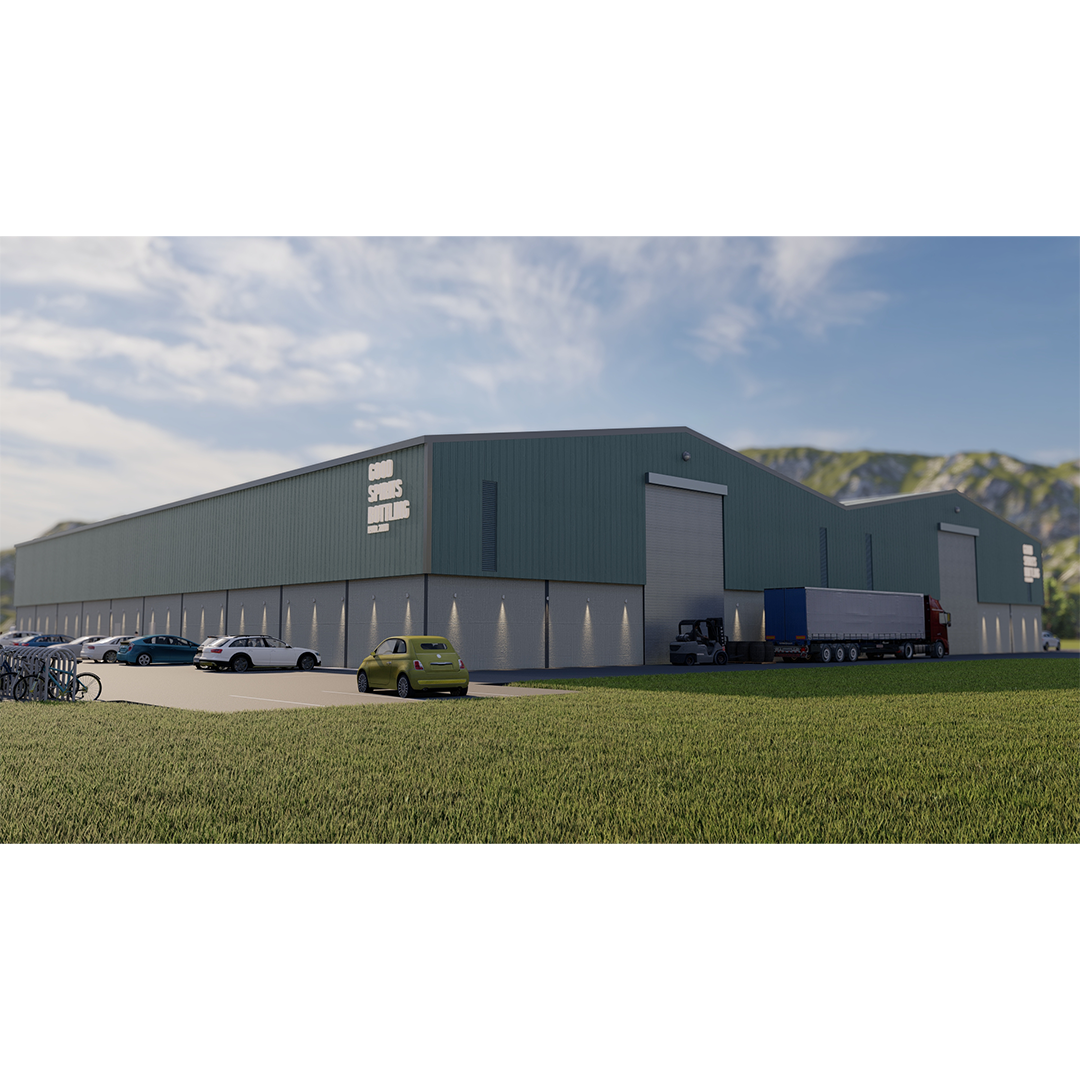
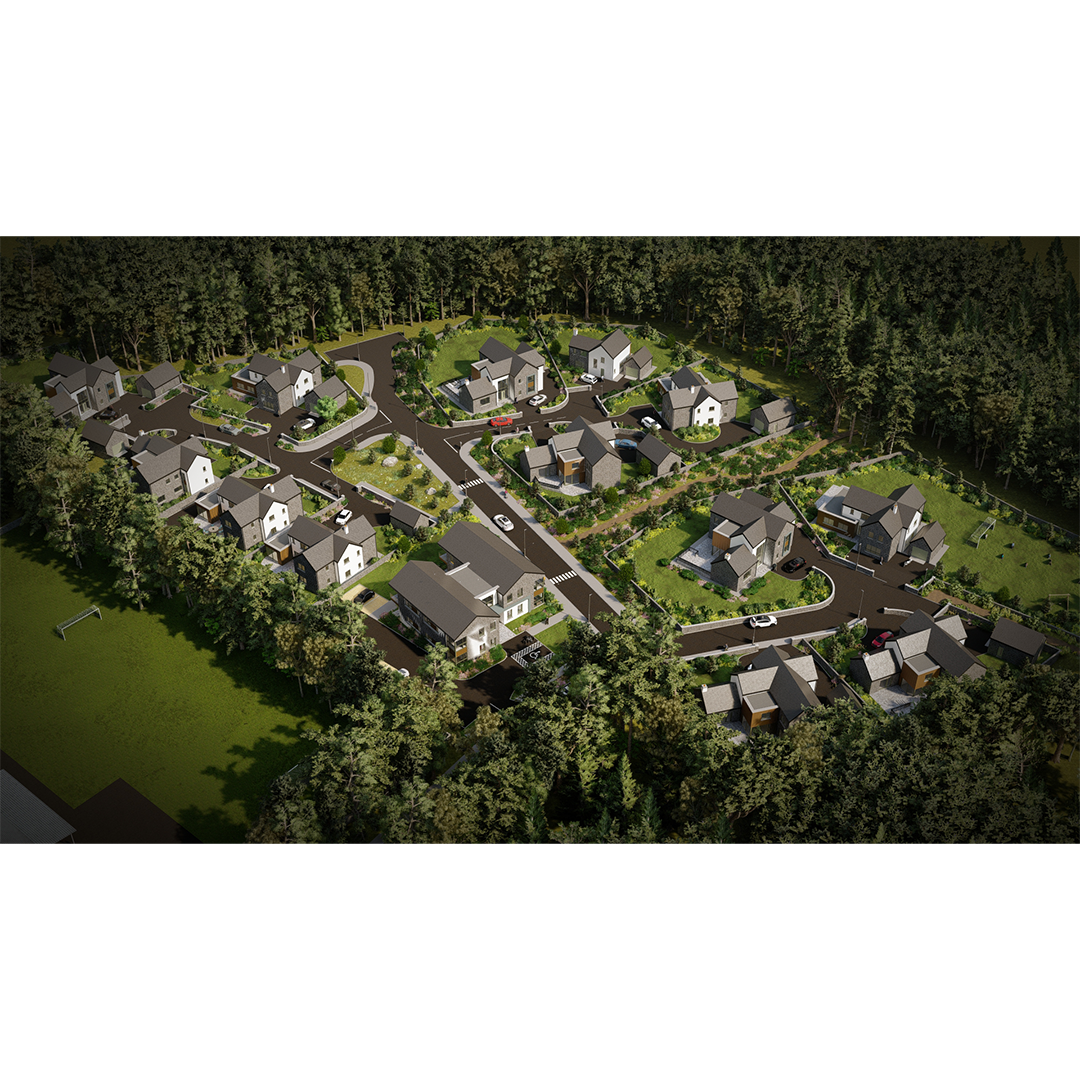
Site Context
The last thing we work on before setting up our images is putting the building in context. We do this by adding a surrounding site to the buildings so they not left in an empty void space or placed on and infinite field. When we are given a site layout we will match the site boundary and general surroundings as best we can to really show our clients how they will look in person.
In the case we do not receive site layout plans we will create our own layout to add as much detail as we can.

We will start off by marking the site boundary’s around the property to give us a sense of the space we have to work with. Then we will work on adding the streets, driveways and lawns from the information given to us on the site layout plans

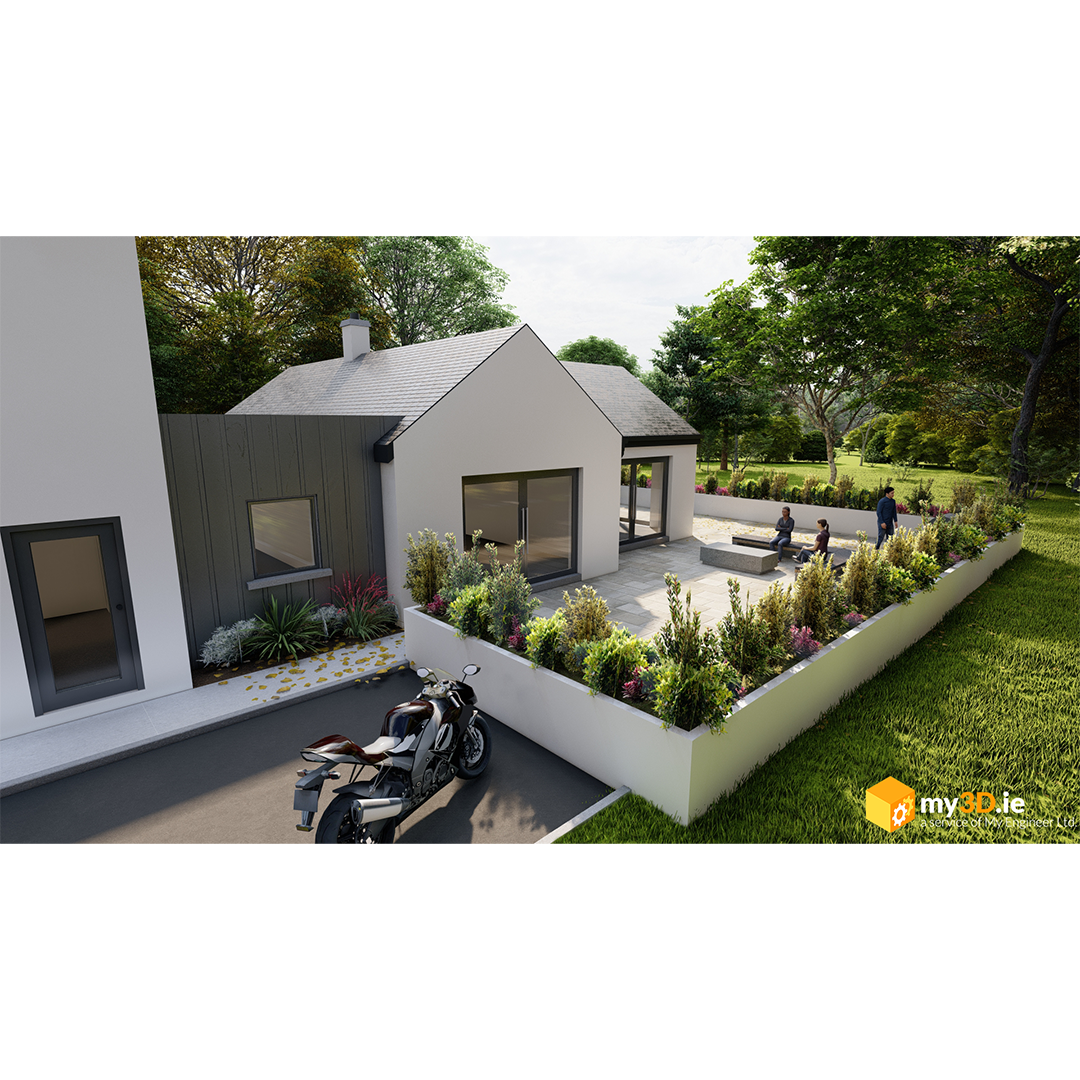
Next we will add planting in some select locations around the site. The planting is great for adding colour and texture to the images as well as filling out any dead spaces that may be present.


And finally, we will add people, cars and animals in the surrounding area. This usually helps giving our clients a sense of scale an adds a lot of life to the projects.
In some cases, like planning conditions, clients will ask for the buildings to be placed in photographs taken of the site a street level to show the buildings impact on the surrounding street. These are known as photomontages.

Image Framing
Now that we have all the model finished and are happy with the additional context and lighting, we can move on to framing the images and setting up the views for the clients. From this point on we can set up as many images necessary for each project. This is why we do not charge on a per image basis.

We set up these images from a variety of heights and locations to make sure the clients get to see their project from every angle insuring they are happy with the design.
Rendering
We are now at the final stages of the project and getting ready to render the images. This is the stage where we add in our sun lighting and additional filters to the images to get the photorealistic look we are after.
Once everything is set up and ready to go, we let our computers render (process) the images which can take a couple of hours depending on the number of images. The last thing we do is look over all the images do some minor touch ups on Photoshop if necessary.
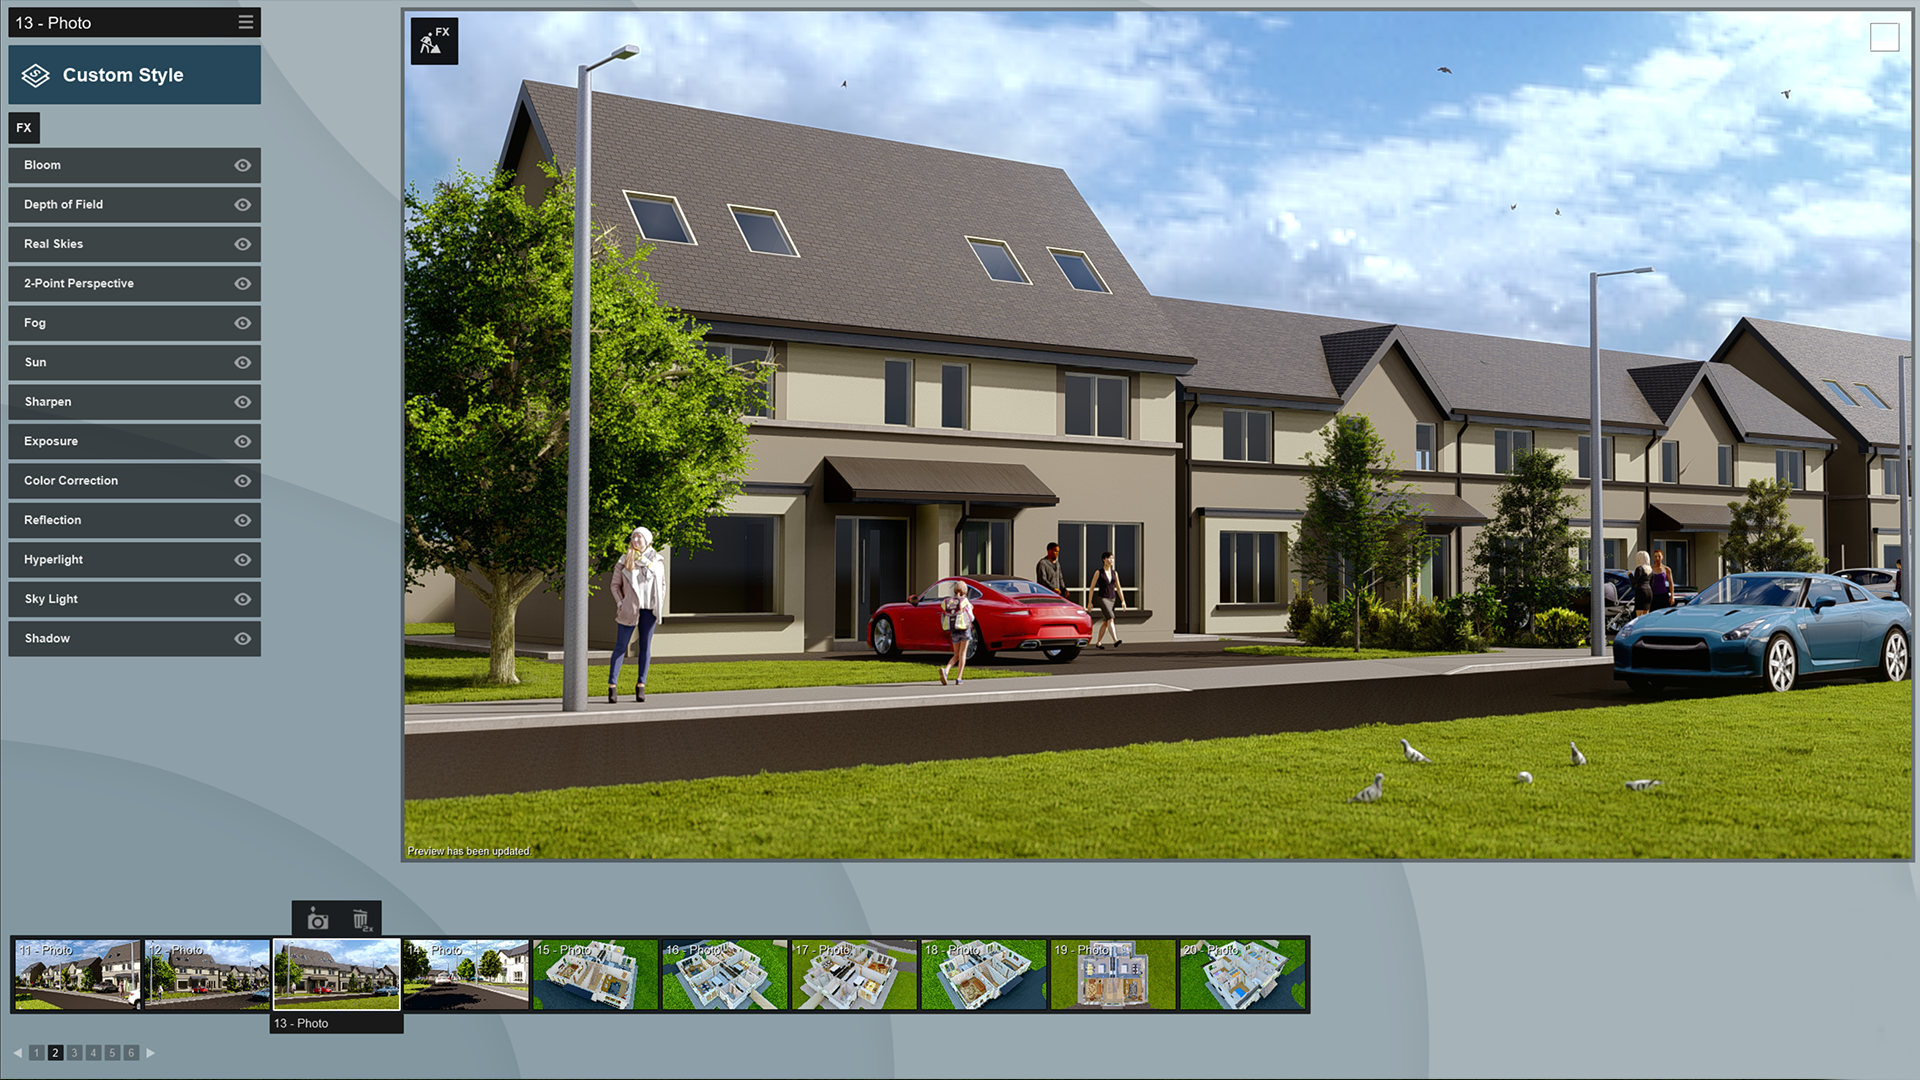
Here is a typical example of our final output.